Helm + declaration + environments = Helmfile

I'm Mariano, I am from 🇦🇷 and live in 🇳🇱. I am a Cloud Engineer 9-5 and many other things 5-9.
There's this lame Argentinian saying: "What's the difference between Flores and Floresta?" it's kind of a dad joke and it feels like I'm now closer to that humour.
Know when you read a lot about a tool that is kind of the standard but for some reason you never used it? That was me a few years ago right after I got my CKA, ready to start working on real production Kubernetes implementations and Helm kept popping up wherever I looked.

But I had not had the chance to use it in my playground yet, it was mostly about declaring resources in YAML, no templating... it was very newbie stuff.
A few months forward, I joined a new company where we used AWS and got to work on a super exciting migration to EKS from on-premises. We had multiple environments and a few applications with customised configurations to move, which required some kind of automation not only to deploy but also to make it easier to manage, support and further extend.
Here comes Helmfile

Helm is a Kubernetes release management tool built in Go, that facilitates the creation and management of objects (grouped in charts) via templating and creation of Kubernetes manifests.
And Helmfile is a declarative implementation of Helm. It offers a way of defining a set of (Helm) charts or standalone objects deployment along with their dependencies, secrets and values file separation.
It also offers a diff feature to see the eventual changes to be applied, template to render a given release, write-values writing out specific environment-bound values and a lot more (many based on Helm's native methods and plugins).
Quick walkthrough
As always, the theory is nice and all but we are here to see it working. So let's do that.
Prerequisites
A Kubernetes cluster.
- Can be anywhere, for this overview I will use Minikube deployed locally.
Installation
I am running this on a Mac, so the below commands are scoped to that. If you are using a different one, all of them have their versions for other OSs.
Clone the examples repository.
git clone https://github.com/marianogg9/helmfiling.git cd helmfiling-
brew install minikube And start a Minikube cluster.
minikube startYou can customise it a bit (e.g. by specifying a Kubernetes version) but defaults are enough (at the moment
v1.22.3).-
curl -LO "https://dl.k8s.io/release/$(curl -L -s https://dl.k8s.io/release/stable.txt)/bin/darwin/amd64/kubectl" -
brew install helmfile
General overview
I added an MVP installation here.
.
├── charts
│   └── httpbin
│       ├── Chart.yaml
│       └── templates
│           ├── deployment.yaml
│           ├── service.yaml
│           └── serviceaccount.yaml
├── default-values.yaml
├── environments.yaml
├── example-environment-values.yaml
├── helmfile.yaml
└── values.yaml.gotmpl
charts/contains a minimalhttpbinHelm chart definition and all the resources' templates.default-values.yamlis thedefaultenvironment set of values.environments.tamldefines bothdefaultandexampleenvironments with their respective values files.example-environment-values.yamlis theexampleenvironment set of values.helmfile.yamlis where all releases are defined.values.yaml.gotmpluses GO templating to reference different values. This template will be used as a centralised definition to be used by different environments.
Creating a release
A release is where we declare metadata for the deployment. In a very minimal version:
Name.
Values (list of single values or files).
Chart (path to a valid local or remote chart).
Namespace (where to deploy the resources defined in the above chart).
Labels (optional, as a way of targeting a specific release object).
Please have a look at this example.
Adding a value(s) file
There are many ways of passing values to a release, one of them being a values file. This contains a set of parameters that will be referenced as {{ .Values.parameterX }} in a given chart resource template definition.
We could also set values in a standalone way as in:
values:
- parameter_1: "something meaningful"
- parameter_2: 13
Using a custom environment
By default, Helmfile will assume a default environment. So if we do not specify one, Helmfile will use a set of values defined under a default environment.
But what if we had more than one environment or logic separation or cluster and wanted to reuse as much as possible? we can make use of GO templating and a template values file.
Let's use one of those bad boys for this example then, creating a values.yaml.gotmpl file, referencing values by {{ .Values.parameterX }} notation (same as within a chart resource template).
Once we run Helmfile specifying a different environment, it will pick up that custom environment's set of values and populate the values.yaml.gotmpl with them, instead of using the default ones.
We use an environments.yaml file to tell Helmfile what values we want to use for that specific environment; see an example here.
Running Helmfile
The custom environment I will be using is called example, as defined here. If you want to use a different one, declare it in environments.yaml and use it in the following steps.
The -e flag tells Helmfile which environment to use. If none is specified, it will assume default.
Dry-run
$ helmfile -e example diff

Building dependency release=example-release, chart=charts/httpbin
Comparing release=example-release, chart=charts/httpbin
********************

    Release was not present in Helm.  Diff will show entire contents as new.

********************
example-ns, example-httpbin, Deployment (apps) has been added:
-
+ # Source: example-httpbin/templates/deployment.yaml
+ apiVersion: apps/v1
+ kind: Deployment
+ metadata:
+   name: example-httpbin
+ spec:
+   replicas: 1
+   selector:
+     matchLabels:
+       app: example-httpbin
+       version: v1
+   template:
+     metadata:
+       labels:
+         app: example-httpbin
+         version: v1
+     spec:
+       serviceAccountName: example-httpbin
+       containers:
+       - image: docker.io/kong/httpbin
+         imagePullPolicy: IfNotPresent
+         name: example-httpbin
+         ports:
+         - containerPort: 80
example-ns, example-httpbin, Service (v1) has been added:
-
+ # Source: example-httpbin/templates/service.yaml
+ apiVersion: v1
+ kind: Service
+ metadata:
+   name: example-httpbin
+   labels:
+     app: example-httpbin
+     service: example-httpbin
+ spec:
+   ports:
+   - name: http
+     port: 8080
+     targetPort: 80
+   selector:
+     app: example-httpbin
example-ns, example-httpbin, ServiceAccount (v1) has been added:
-
+ # Source: example-httpbin/templates/serviceaccount.yaml
+ apiVersion: v1
+ kind: ServiceAccount
+ metadata:
+   name: example-httpbin
Applying
helmfile -e example apply
You can also check the status of the release deployment by:
$ helmfile status

Getting status example-release
NAME: example-release
LAST DEPLOYED: Fri Apr  7 13:58:58 2023
NAMESPACE: example-ns
STATUS: deployed
REVISION: 1
TEST SUITE: None
Let's port forward port 8080 from the service we just deployed to our localhost.
First, check the deployed service:
$ kubectl get svc -n example-ns

NAME              TYPE        CLUSTER-IP     EXTERNAL-IP   PORT(S)    AGE
example-httpbin   ClusterIP   10.96.41.153   <none>        8080/TCP   4m46s
Port forward to localhost:7000:
$ kubectl port-forward -n example-ns svc/example-httpbin 7000:8080

Forwarding from 127.0.0.1:7000 -> 80
Forwarding from [::1]:7000 -> 80
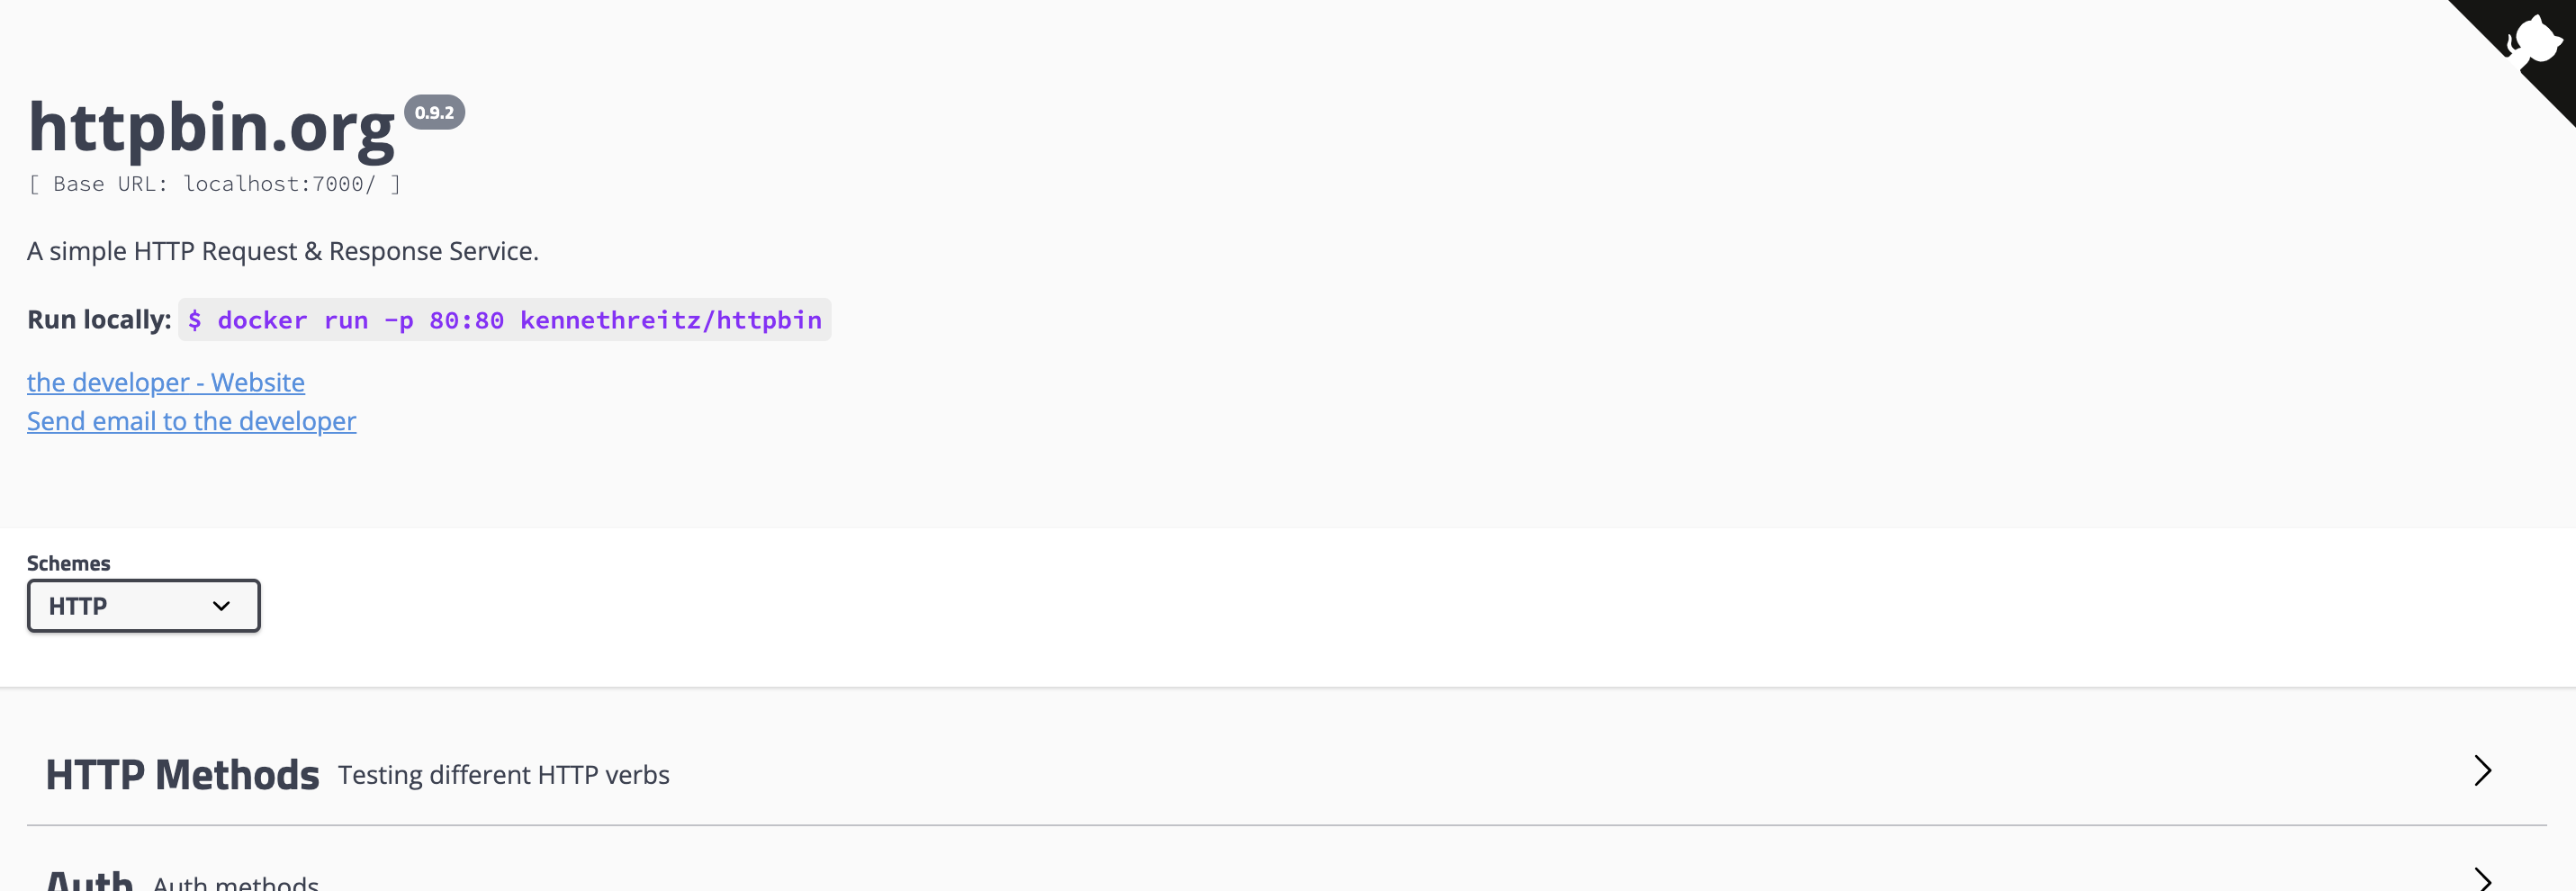
Now access your localhost:7000 in a browser and you will see httpbin UI:
Updating and deleting
Let's say we want to update the default service port.
First, modify its value in the values file to 8081.
Then we can see the modification to be applied by running:
$ helmfile -e example diff

Building dependency release=example-release, chart=charts/httpbin
Comparing release=example-release, chart=charts/httpbin
example-ns, example-httpbin, Service (v1) has changed:
  # Source: example-httpbin/templates/service.yaml
  apiVersion: v1
  kind: Service
  metadata:
    name: example-httpbin
    labels:
      app: example-httpbin
      service: example-httpbin
  spec:
    ports:
    - name: http
-     port: 8080
+     port: 8081
      targetPort: 80
    selector:
      app: example-httpbin
Now let's apply that and verify port-forwarding again:
$ helmfile -e example apply

Building dependency release=example-release, chart=charts/httpbin
Comparing release=example-release, chart=charts/httpbin
example-ns, example-httpbin, Service (v1) has changed:
  # Source: example-httpbin/templates/service.yaml
  apiVersion: v1
  kind: Service
  metadata:
    name: example-httpbin
    labels:
      app: example-httpbin
      service: example-httpbin
  spec:
    ports:
    - name: http
-     port: 8080
+     port: 8081
      targetPort: 80
    selector:
      app: example-httpbin

Upgrading release=example-release, chart=charts/httpbin
Release "example-release" has been upgraded. Happy Helming!
NAME: example-release
LAST DEPLOYED: Fri Apr  7 14:09:33 2023
NAMESPACE: example-ns
STATUS: deployed
REVISION: 2
TEST SUITE: None

Listing releases matching ^example-release$
example-release    example-ns    2           2023-04-07 14:09:33.374019 +0200 CEST    deployed    example-httpbin-1.0.0


UPDATED RELEASES:
NAME              CHART            VERSION
example-release   charts/httpbin
Rechecking the service, we can see its port changed to 8081:
$ kubectl get svc -n example-ns

NAME              TYPE        CLUSTER-IP     EXTERNAL-IP   PORT(S)    AGE
example-httpbin   ClusterIP   10.96.41.153   <none>        8081/TCP   11m
And finally, let's port forward using the new port:
$ kubectl port-forward -n example-ns svc/example-httpbin 7000:8081
Forwarding from 127.0.0.1:7000 -> 80
Forwarding from [::1]:7000 -> 80
Which will enable us to see the UI in the same localhost port as before (7000).

This also will reconcile deleted values/resources, meaning apply will delete any values/resources that are no longer defined (present) in the release YAML.
E.g. let's delete (or comment out all content in) the deployment template.
If we run apply, it will delete the deployment from the cluster:
$ helmfile -e example apply

Building dependency release=example-release, chart=charts/httpbin
Comparing release=example-release, chart=charts/httpbin
example-ns, example-httpbin, Deployment (apps) has been removed:
- # Source: example-httpbin/templates/deployment.yaml
- apiVersion: apps/v1
- kind: Deployment
- metadata:
-   name: example-httpbin
- spec:
-   replicas: 1
-   selector:
-     matchLabels:
-       app: example-httpbin
-       version: v1
-   template:
-     metadata:
-       labels:
-         app: example-httpbin
-         version: v1
-     spec:
-       serviceAccountName: example-httpbin
-       containers:
-       - image: docker.io/kong/httpbin
-         imagePullPolicy: IfNotPresent
-         name: example-httpbin
-         ports:
-         - containerPort: 80
+

Upgrading release=example-release, chart=charts/httpbin
Release "example-release" has been upgraded. Happy Helming!
NAME: example-release
LAST DEPLOYED: Fri Apr  7 14:17:01 2023
NAMESPACE: example-ns
STATUS: deployed
REVISION: 2
TEST SUITE: None

Listing releases matching ^example-release$
example-release    example-ns    2           2023-04-07 14:17:01.64583 +0200 CEST    deployed    example-httpbin-1.0.0


UPDATED RELEASES:
NAME              CHART            VERSION
example-release   charts/httpbin
Or we could also run destroy to delete all resources defined in a release YAML.
helmfile -e <name_of_the_environment> destroy
Keep in mind the above destroy command will NOT ask for confirmation!
Cleaning up
As usual, don't forget to clean up!

First Helmfile release(s):
$ helmfile -e example destroy

Building dependency release=example-release, chart=charts/httpbin
Listing releases matching ^example-release$
example-release    example-ns    2           2023-04-07 14:17:01.64583 +0200 CEST    deployed    example-httpbin-1.0.0

Deleting example-release
release "example-release" uninstalled


DELETED RELEASES:
NAME
example-release
Then Minikube cluster(s).
$ minikube delete --all

🔥  Deleting "minikube" in hyperkit ...
💀  Removed all traces of the "minikube" cluster.
🔥  Successfully deleted all profiles
Conclusion
Much like IaC, Helm gives you a way of declaring a desired state of things. You define your Kubernetes objects, their dependencies, how they should behave and the values you need them to have - and every time you need to modify or recreate your stack, just run Helmfile.
Helmfile is an improved version of Helm, offering a declarative approach where you visualize all involved parties and their dependencies.
Reproducibility, versioning, templating, easy environment separation and a toolset of functions. A lot to play around with. Helmfile also implements secrets definitions from a variety of sources, have a look!
There are also other similar tools, Kustomize being probably the one I mostly read about but did not use yet.
References
Thank you for stopping by! Do you know other ways to do this? Please let me know in the comments, I always like to learn how to do things differently.