Your website in minutes: Gitlab, Hugo & Blowfish
I'm Mariano, I am from 🇦🇷 and live in 🇳🇱. I am a Cloud Engineer 9-5 and many other things 5-9.
I was looking for a way to create my first website as a way to tell a bit about myself and my IT journey when I stumbled first on Gitlab Pages templates, and then Blowfish - a Hugo theme that will give you a flexible running website in a couple of minutes.
Let's create a sample website that can be later customised. I will be using my site as a guiding example for all the steps.
Some background
What is Hugo?
Hugo is an SSG, meaning static site generator, a free framework for creating static websites using CSS, JS and HTML. The best part is that you do not need to have any knowledge of those, just adding your content and configuring its appearance with themes is all you need.
Please have a look at the various features Hugo offers.
What is Blowfish?
Blowfish is a (one of the many) theme for Hugo, built on Tailwind CSS, that will give you a range of customisations including hero view, background images, dark mode, pages tree, rich content and a lot more.
Have a look at Blowfish variations and possibilities.
Gitlab managed
In my case I was looking for a Gitlab managed deployment, so I looked into Gitlab Pages, a way to deploy a static website using a simple .gitlab-ci.yml pipeline, including a custom pages: stage definition.
There are many possible ways of deploying a website using Gitlab Pages: you can either deploy it from scratch, you can use a template, or a forked project.
Here is a lot more on how you can deploy yours.
Tutorial
I chose to use an existing project template, and there are a lot of them here. I went with Hugo as it looked promising and I wanted to try it out, and I liked one of its themes (Blowfish).
Create using a project template
From your Gitlab home page, select New Project and choose Create from template option. You can select any of the 31 available templates, let's use Pages/Hugo > select Use template.
This will open a Gitlab new project screen where you can add your new project name, slug (URL friendly name) and its visibility level (given this is a standalone project - if this is part of a group, then it will inherit its group visibility).
It will take some time to import and once it is created, the project contains a copy of the original template files, and it is almost ready to use. Now it is time to set your project name and Hugo's default theme base URL (where all assets will be served from).
Change your project name
In your project Settings > General > Advanced > Change path you will need to change your project's path to match the Gitlab pages URL convention. In this example, I created a project named hugo-blowfish-website. I will change its path to be hugo-blowfish-website.gitlab.io as I am using Gitlab.com to create it.
Keep in mind, if you are creating a group project (like me), then the modified path is going to look like this: https://gitlab.com/your-group/your-project.gitlab.io, and the final published URL will be https://your-group.gitlab.io/your-project.gitlab.io.
If you are creating a standalone project, then the project path will be https://gitlab.com/your-username/your-project.gitlab.io and the published URL https://your-username.gitlab.io/your-proyect.gitlab.io.
One of the above published URLs is the one to be set in the next step.
Change the current theme's base url
Once you changed the project path, update the baseurl parameter in your project root's config.toml with the published URL. By default, it is set to https://pages.gitlab.io/hugo/, you need to change it to https://your-group.gitlab.io/your-project.gitlab.io or https://your-username.gitlab.io/your-proyect.gitlab.io depending on if this is a group/project or a standalone one.
Ready to deploy
The last step can be done either in your local workstation (previous cloning of the project) or directly in the web IDE in Gitlab. Either way, when you push the change, it will automatically start a CI/CD pipeline. To access it, in your project (left pane) CI/CD will open the CI/CD pipelines view.
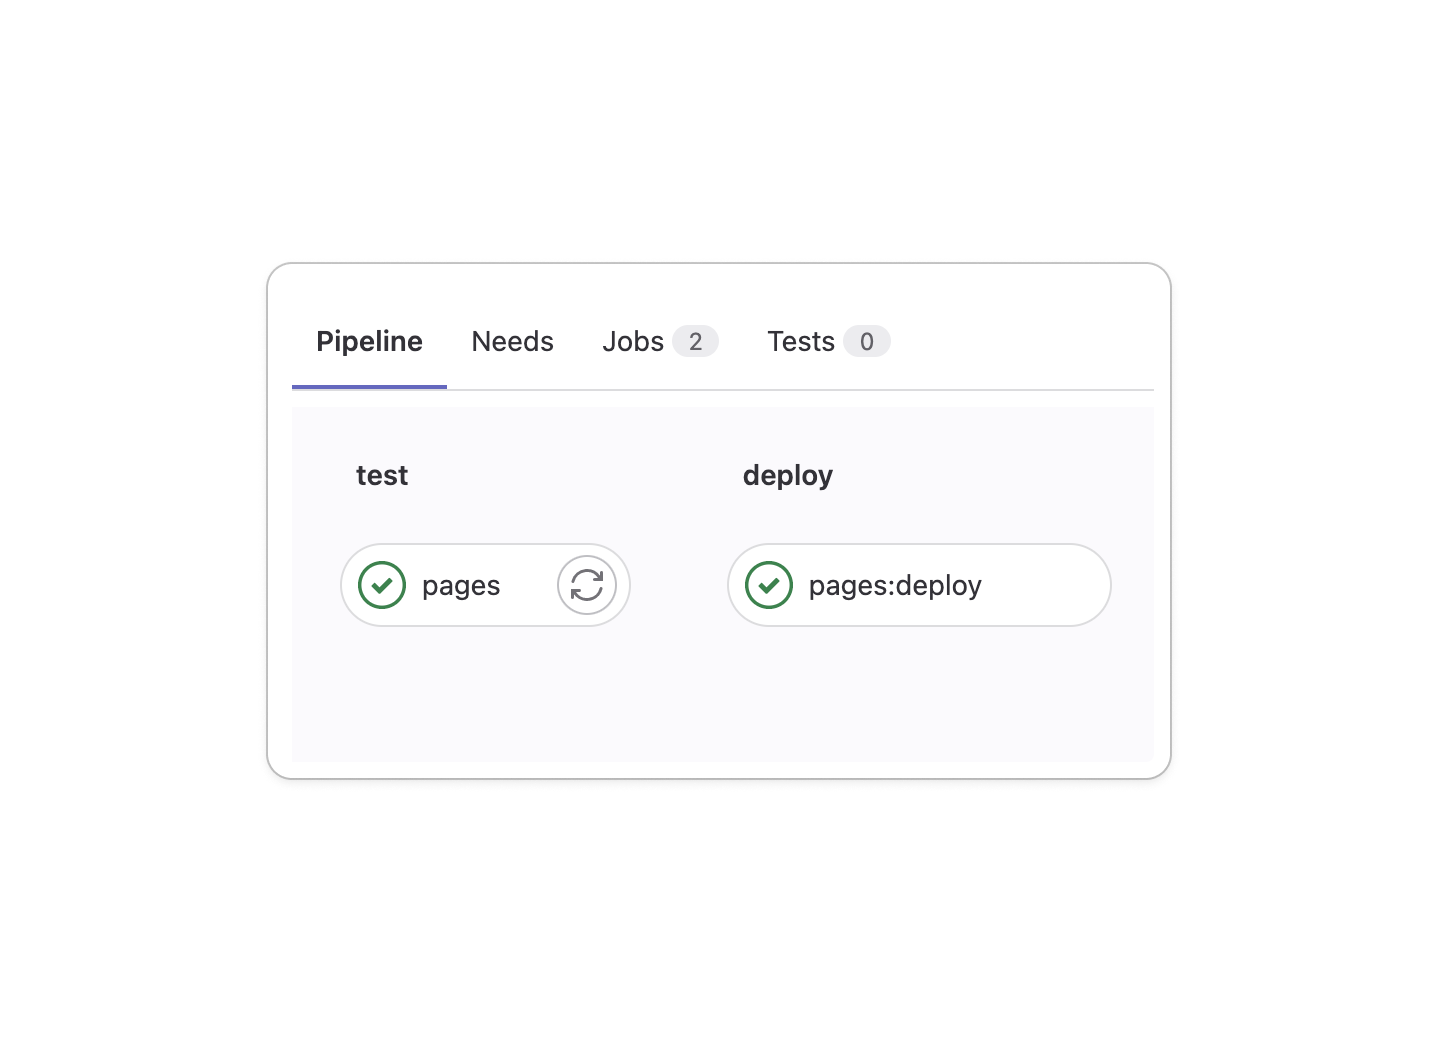
If you click on the most recent run, you will see two stages: test that performs a quick test on the files to check for eventual errors and deploy Gitlab custom job, running hugo and using public folder as the content source. You can have a look at the pipeline definition in .gitlab-ci.yml file.
If the pipeline finishes successfully, it means the site has been deployed and you can access it in the configured baseurl. If you go to your project (left pane) Settings > Pages you will access your Pages menu, where you will be able to see the website link.
If this is the first time you are deploying a page in Gitlab, it will require a credit card to avoid abusive usage of this Pages functionality. Don't worry, it will not charge anything (actually it will, $1 is the default but they will revert the payment in a few minutes).
Now you can access your website! it is a vanilla theme, by default it uses Ananke, but we will customise it later on.
Use a custom theme
Let's say you (like me) would like to use a different theme, how can we do that?
Hugo has a lot of themes to pick and use, the one I chose is called Blowfish.
To change the default theme, you can follow the Blowfish theme installation steps in combination with the default instructions to use a custom theme from Hugo's Gitlab Pages template, where you have a quick start tutorial. Let's go thru those steps.
My recommendation is to clone the project to your local so you can work easier.
Change the
hugo mod getcommand within.gitlab-ci.ymlto behugo mod get -u github.com/nunocuracao/blowfish.Create
config/_default/module.toml(new directory/file) in your project's root, containing the following:[[imports]] path = "github.com/nunocoracao/blowfish"Commit and push these changes.
This will create a new pipeline run, and when it finishes you can access your site again. It will show an updated Blowfish theme, but still with default content.

Add your content
Let's customise the theme and add some content.
Basics
First of all, we need to create a default set of configurations. We already created a config/_default directory, now we can start populating it.
Start by deleting config.toml from the root directory.
Then download a copy of the required files from Blowfish's repo and copy all *.toml into your config/_default/ directory.
Remember not to override the
config/_default/module.tomlcreated before.
Now update config/_default/config.toml:
baseURL = "https://your_domain.com/"
languageCode = "en"
Where baseURL is the same as we configured before and languageCode is the default language we will be showing content.
Let's now configure the language settings in config/_default/languages.en.toml:
title = "Your website"

[author]
 name = "Your name"
 image = "img/author.jpg"
 headline = "A generally awesome human"
 bio = "Just someone sharing content"
 links = [
   { twitter = "https://twitter.com/username" }
 ]
These are going to be generally available across the whole site, in particular, the Home page - depending on the home layout we use. The image comes from files in assets directory. If left commented it will be picked up from a default in the theme. Also the links list is configurable, you can add more if you like (there are a lot to use in the default file).
In addition, if you would like to serve content in a different language, you can rename this file to match the language ISO code you would like to use.
Content
Now for content, there is a content directory in the root of your project. That is the place where we will be creating pages (sections) to organise content into. It is as simple as creating subdirectories, e.g. blog or about. These will be new pages, accessible via baseurl/page-name (baseurl/blog or baseurl/about).
To add content, we will be adding an index.md within each subfolder and Hugo will render them as "articles" or our well known README.md type of documentation. It supports markdown, rich content and many other features you can check in the documentation. Let's add two pages: about and blog.
There is a special type of file _index.md that will inject content as default whenever you place it. E.g. if we would like to add default content to the home page, it would be in content/_index.md. Same scenario for subdirectories. A deeper explanation and usages, you can find here.
Menus
Lastly for basic customisation, we have the menus (menus.en.toml). This is the file where we define the menu items for the header and footer. Here we can reference local pages (defined in content/page-name) or external links:
[[main]]
 name = "Blog"
 pageRef = "blog"
 weight = 10

[[main]]
 name = "External"
 url = "https://github.com/nunocoracao/blowfish"
 weight = 20

[[footer]]
 name = "About"
 pageRef = "about"
 weight = 10
Finally, remove default (Ananke theme) language content directories: content/en and content/fr.
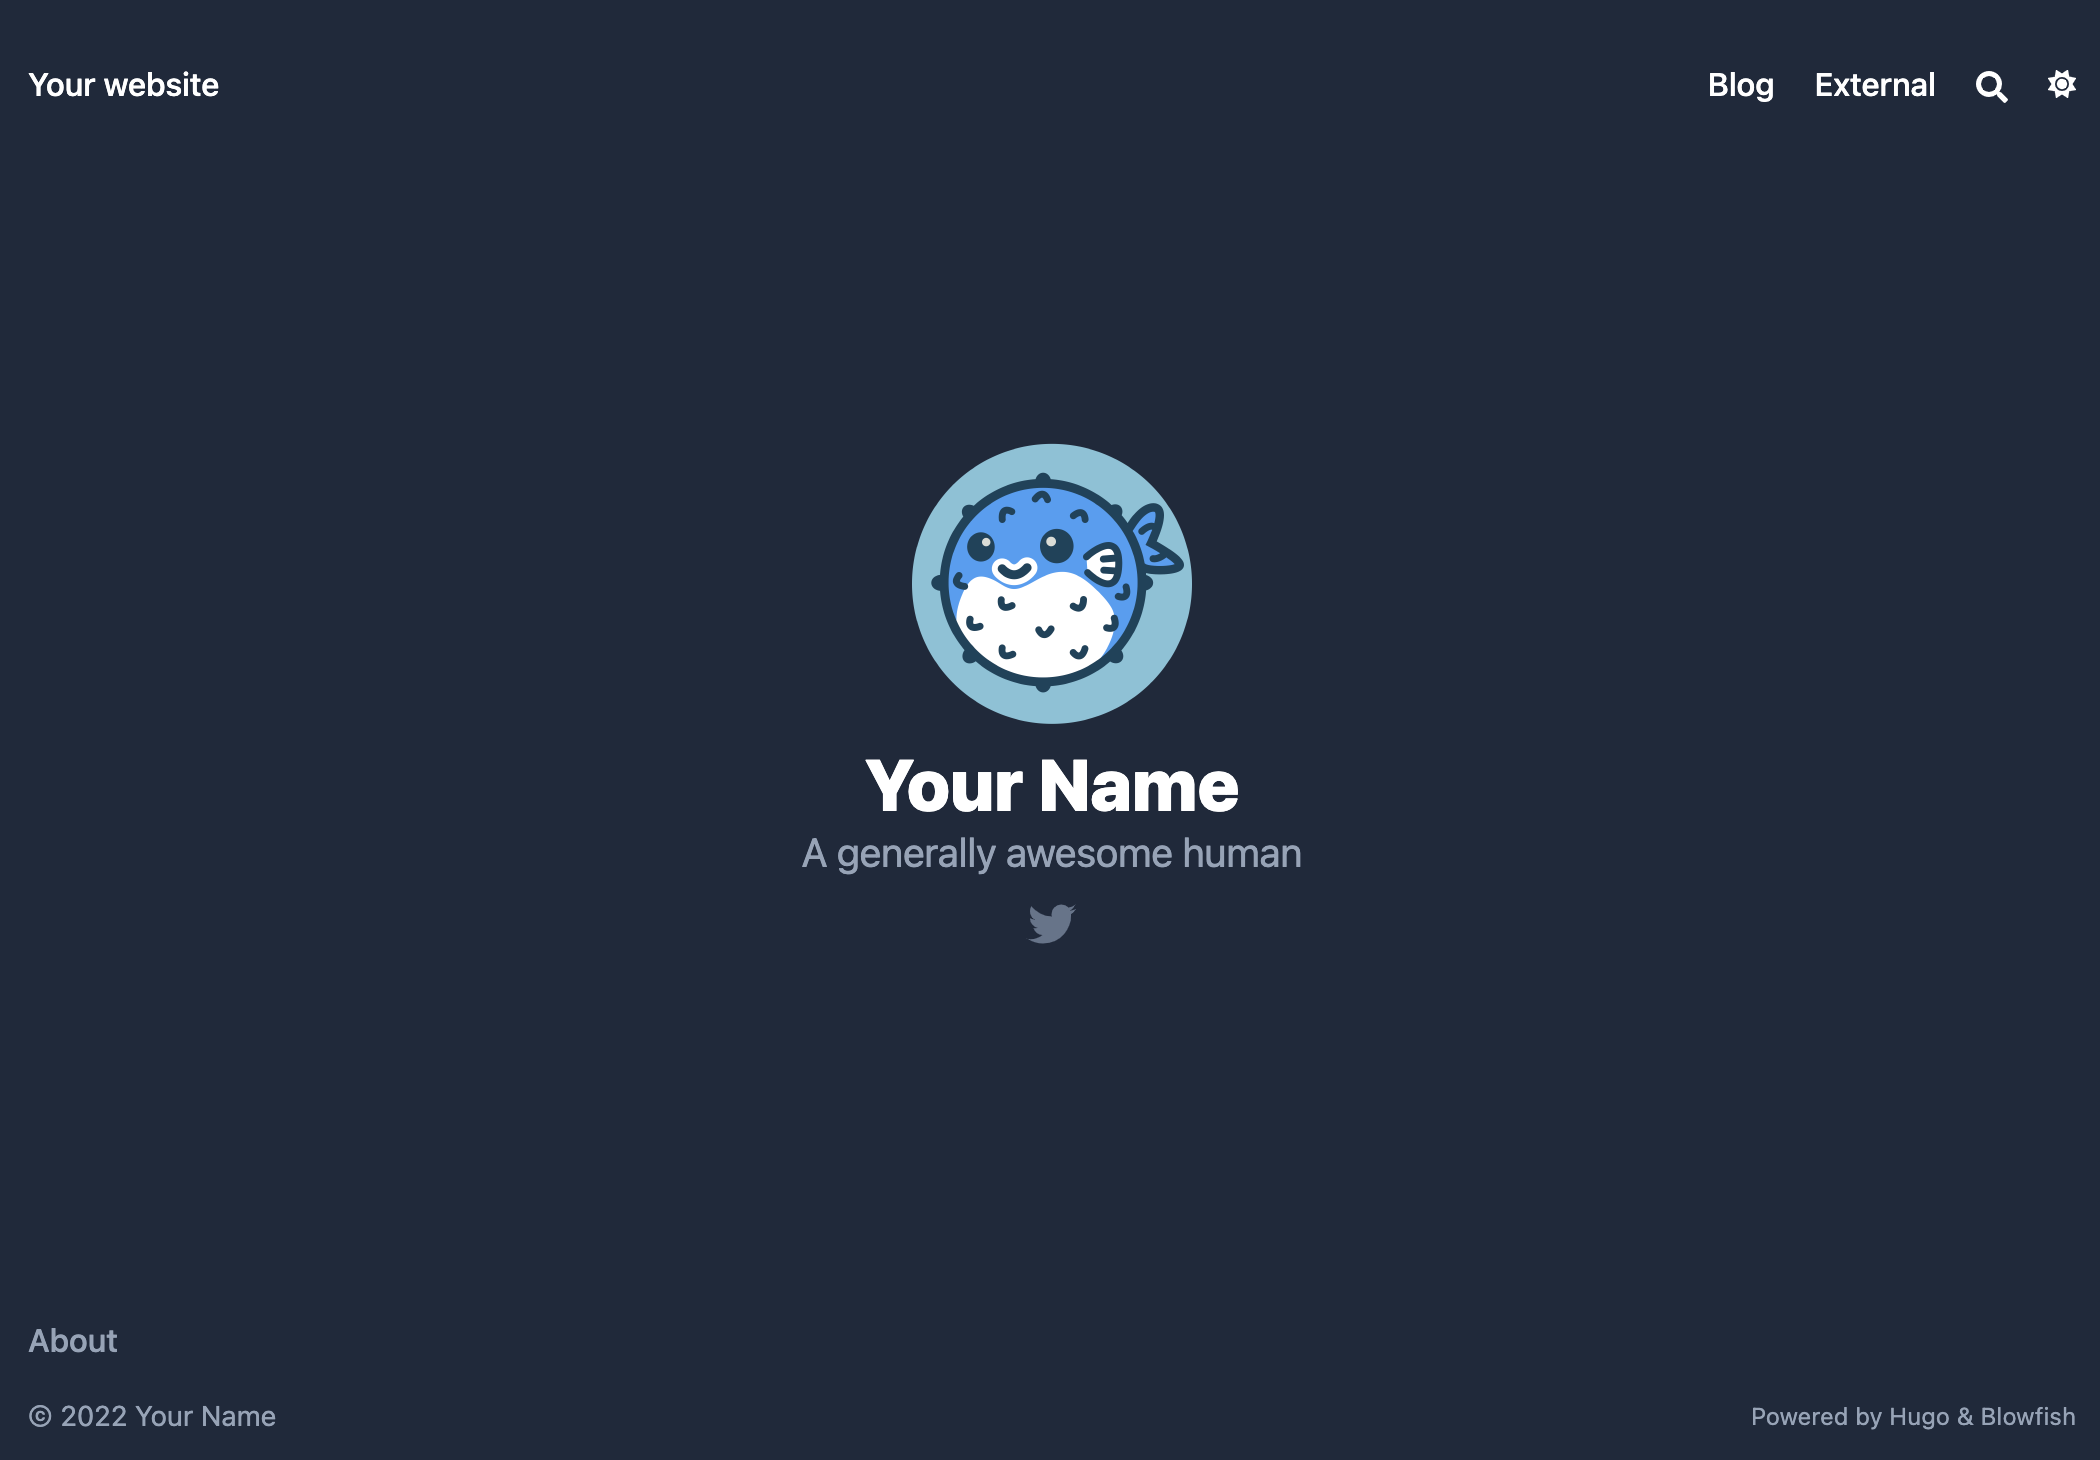
Now we are ready to deploy a more personalised site, so let's commit and push our changes. After the pipeline run, it will look something like this.
Home page:
Blog page (baseurl/blog):
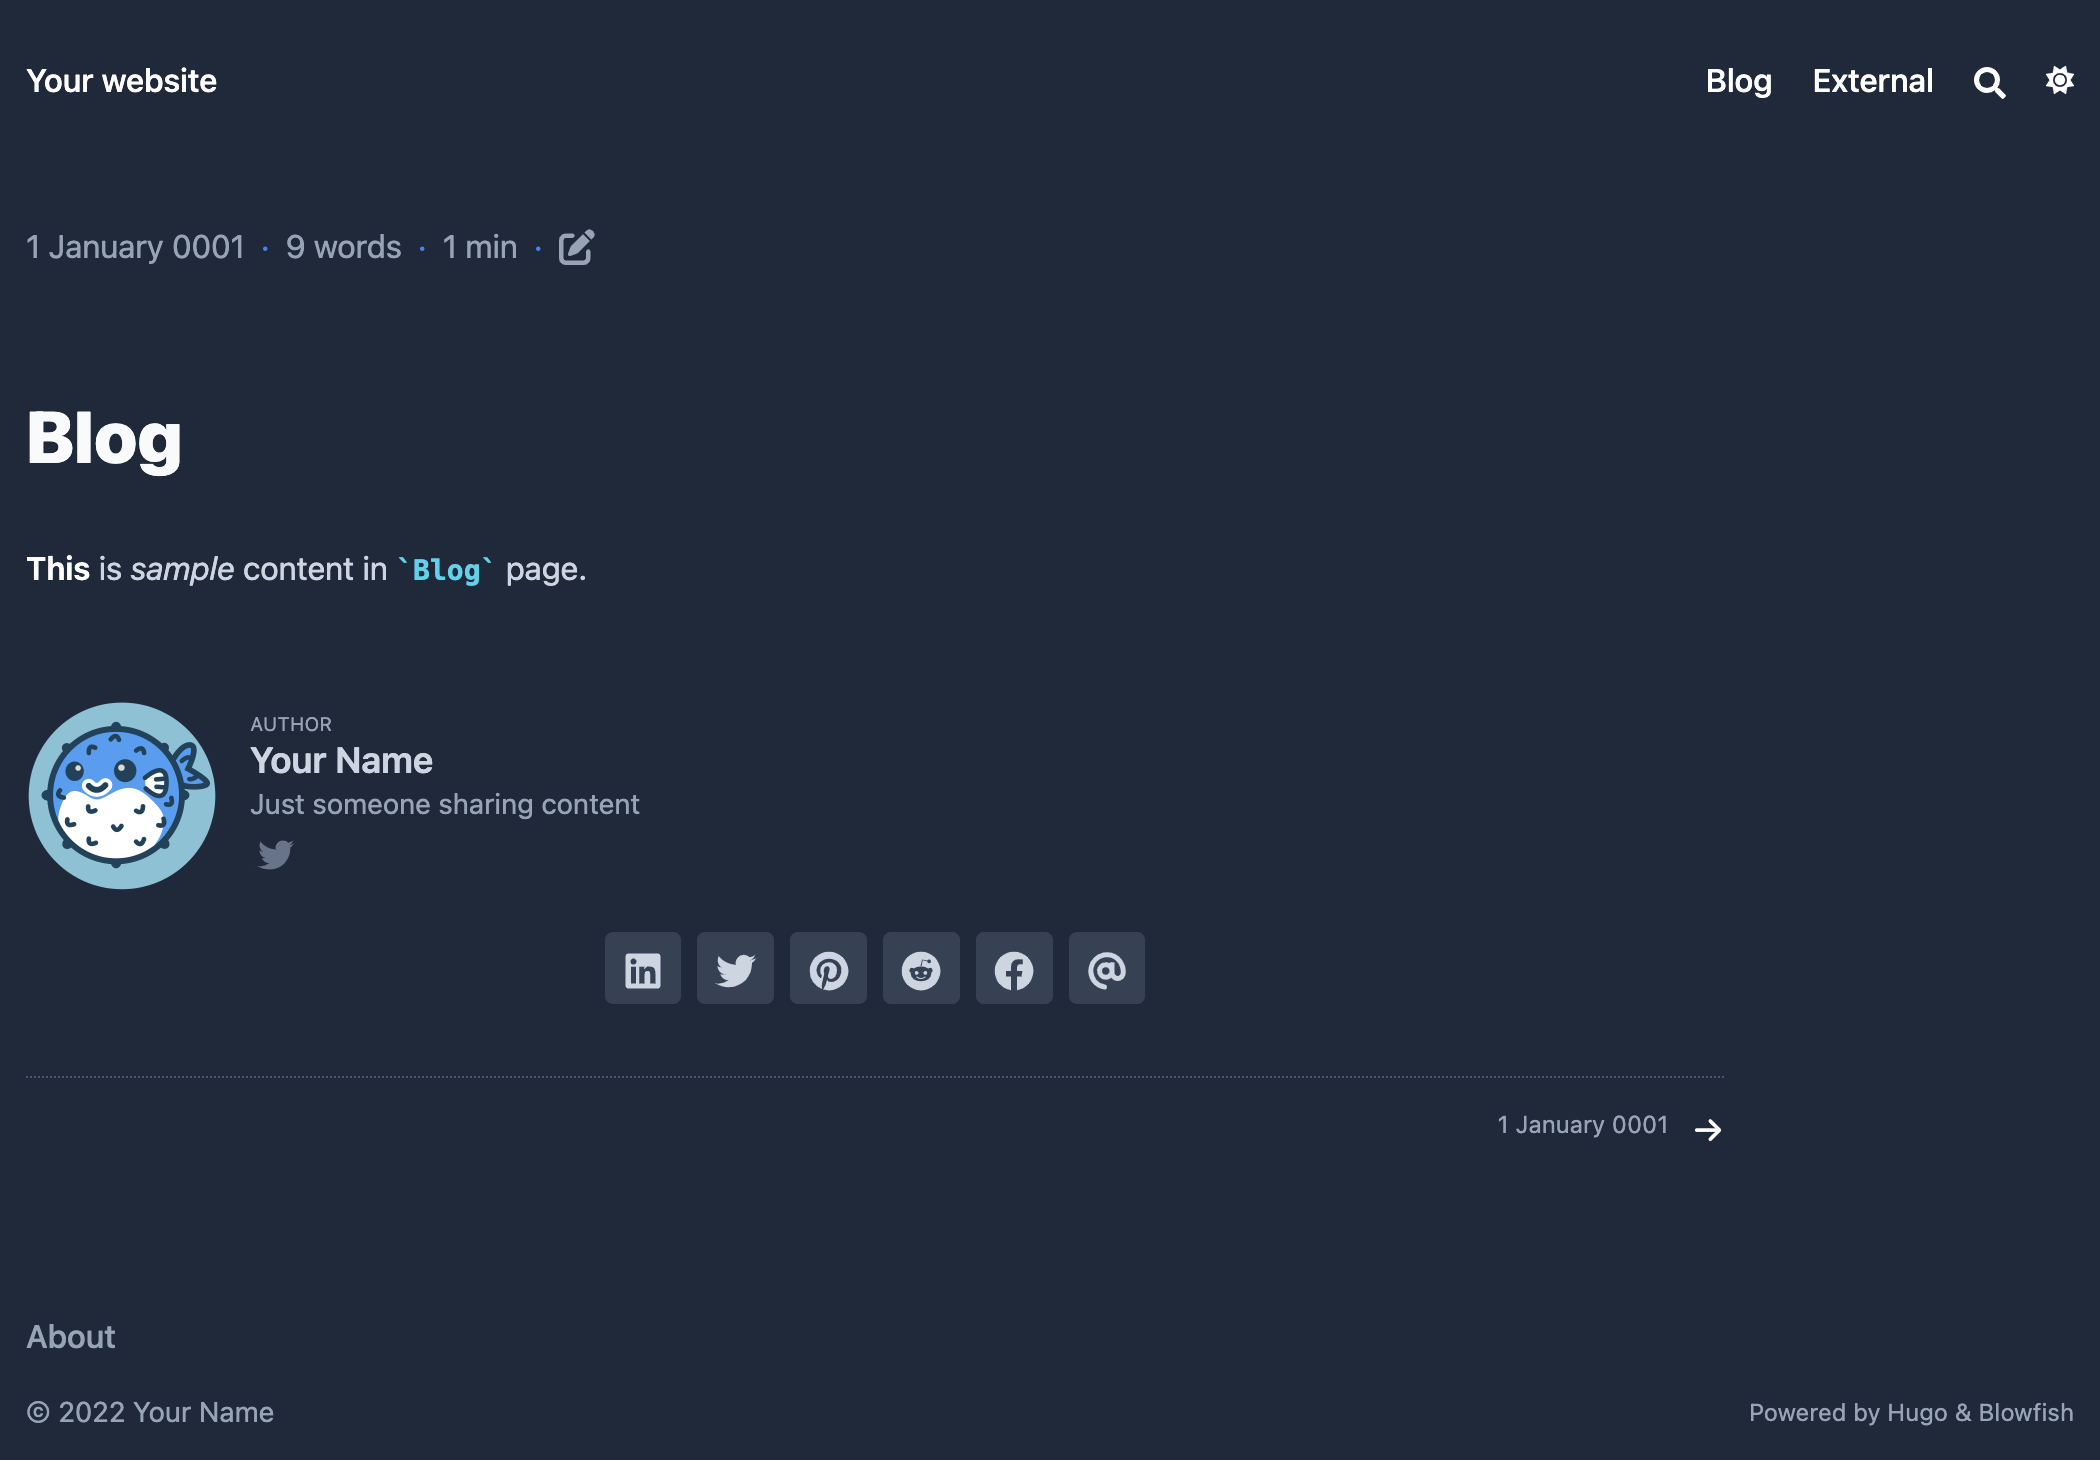
We can see both header and footer menus, accessing any of those will take us to the page and its content. The author section is added by default on every page (but Home) and External header menu section will take us to whatever link we added in its menu url parameter.
Further customisations
There is a lot more that can be done by customising Blowfish config files.
The main ones:
config/_default/params.tomlto control pretty much everything that is shown on each page, along with the theme hero feature, the sections, taxonomy, background, etc.config/_default/config.tomlgeneral customisation and behaviour.config/_default/menus.<lang_iso_code>.tomlmenu customisation.config/_default/language.<lang_iso_code>.tomllanguage and content settings.
And much more. Please refer to Blowfish documentation for more.
Visibility
Remember this page is still under its project default visibility settings, meaning that if it is set to private, then nobody can access it unless they are members of your project/group.
To make it publicly accessible, there is an option in your project Settings > General > Visibility, project features, permissions > Pages. Setting that to Everyone will do.
(optional) Build locally
For debugging purposes, I find it very helpful to build the website locally and then push changes to deploy in Gitlab.
To do so, and after you cloned your Gitlab project, you will need:
Hugo.
Initialise Hugo:
hugo mod init gitlab.com/pages/hugoAdd Blowfish theme:
hugo mod get -u github.com/nunocuracao/blowfishAdd
config/_defaultdirectories and files (as above described).Comment out
baseurlfromconfig/_default/config.toml.
Then run:
hugo server
It will build all static files (compiled from any assets added and content) - it will create public and resources directories - and start a server (defaults to localhost:1313) where you can access the built site. You can then modify/add/delete content/configs and it will auto-reload the site.
Whenever you are ok with the changes, remember to add a .gitignore to avoid pushing to Gitlab resources, public or any files/directories Hugo created additionally.
Bonus: TLS, DNS and custom domain
Gitlab offers the possibility to set up a custom domain for your website. E.g. let's say you want to have this Gitlab Page accessible under your domain your.domain - it is doable.
You will need a custom domain you own and control (meaning, you can modify its DNS records).
Gitlab offers TLS out of the box, so you won't need to worry about getting a certificate for HTTPS traffic either.
How to set it all up?
First, let's create a custom domain in the Gitlab Pages section of your project Settings > Pages > New Domain.
Here you will add your domain, leave the Certificate feature enabled and click on Create New Domain.
Gitlab will then ask for your domain to be verified. Gitlab generates a TXT record that you will have to add to your DNS in your domain. This is how Gitlab checks you rightly own the domain you are trying to add as custom.
When you add the TXT to your DNS, it will become active in the Pages section and a certificate will be generated. Default HTTPS redirection is enabled for this Page.
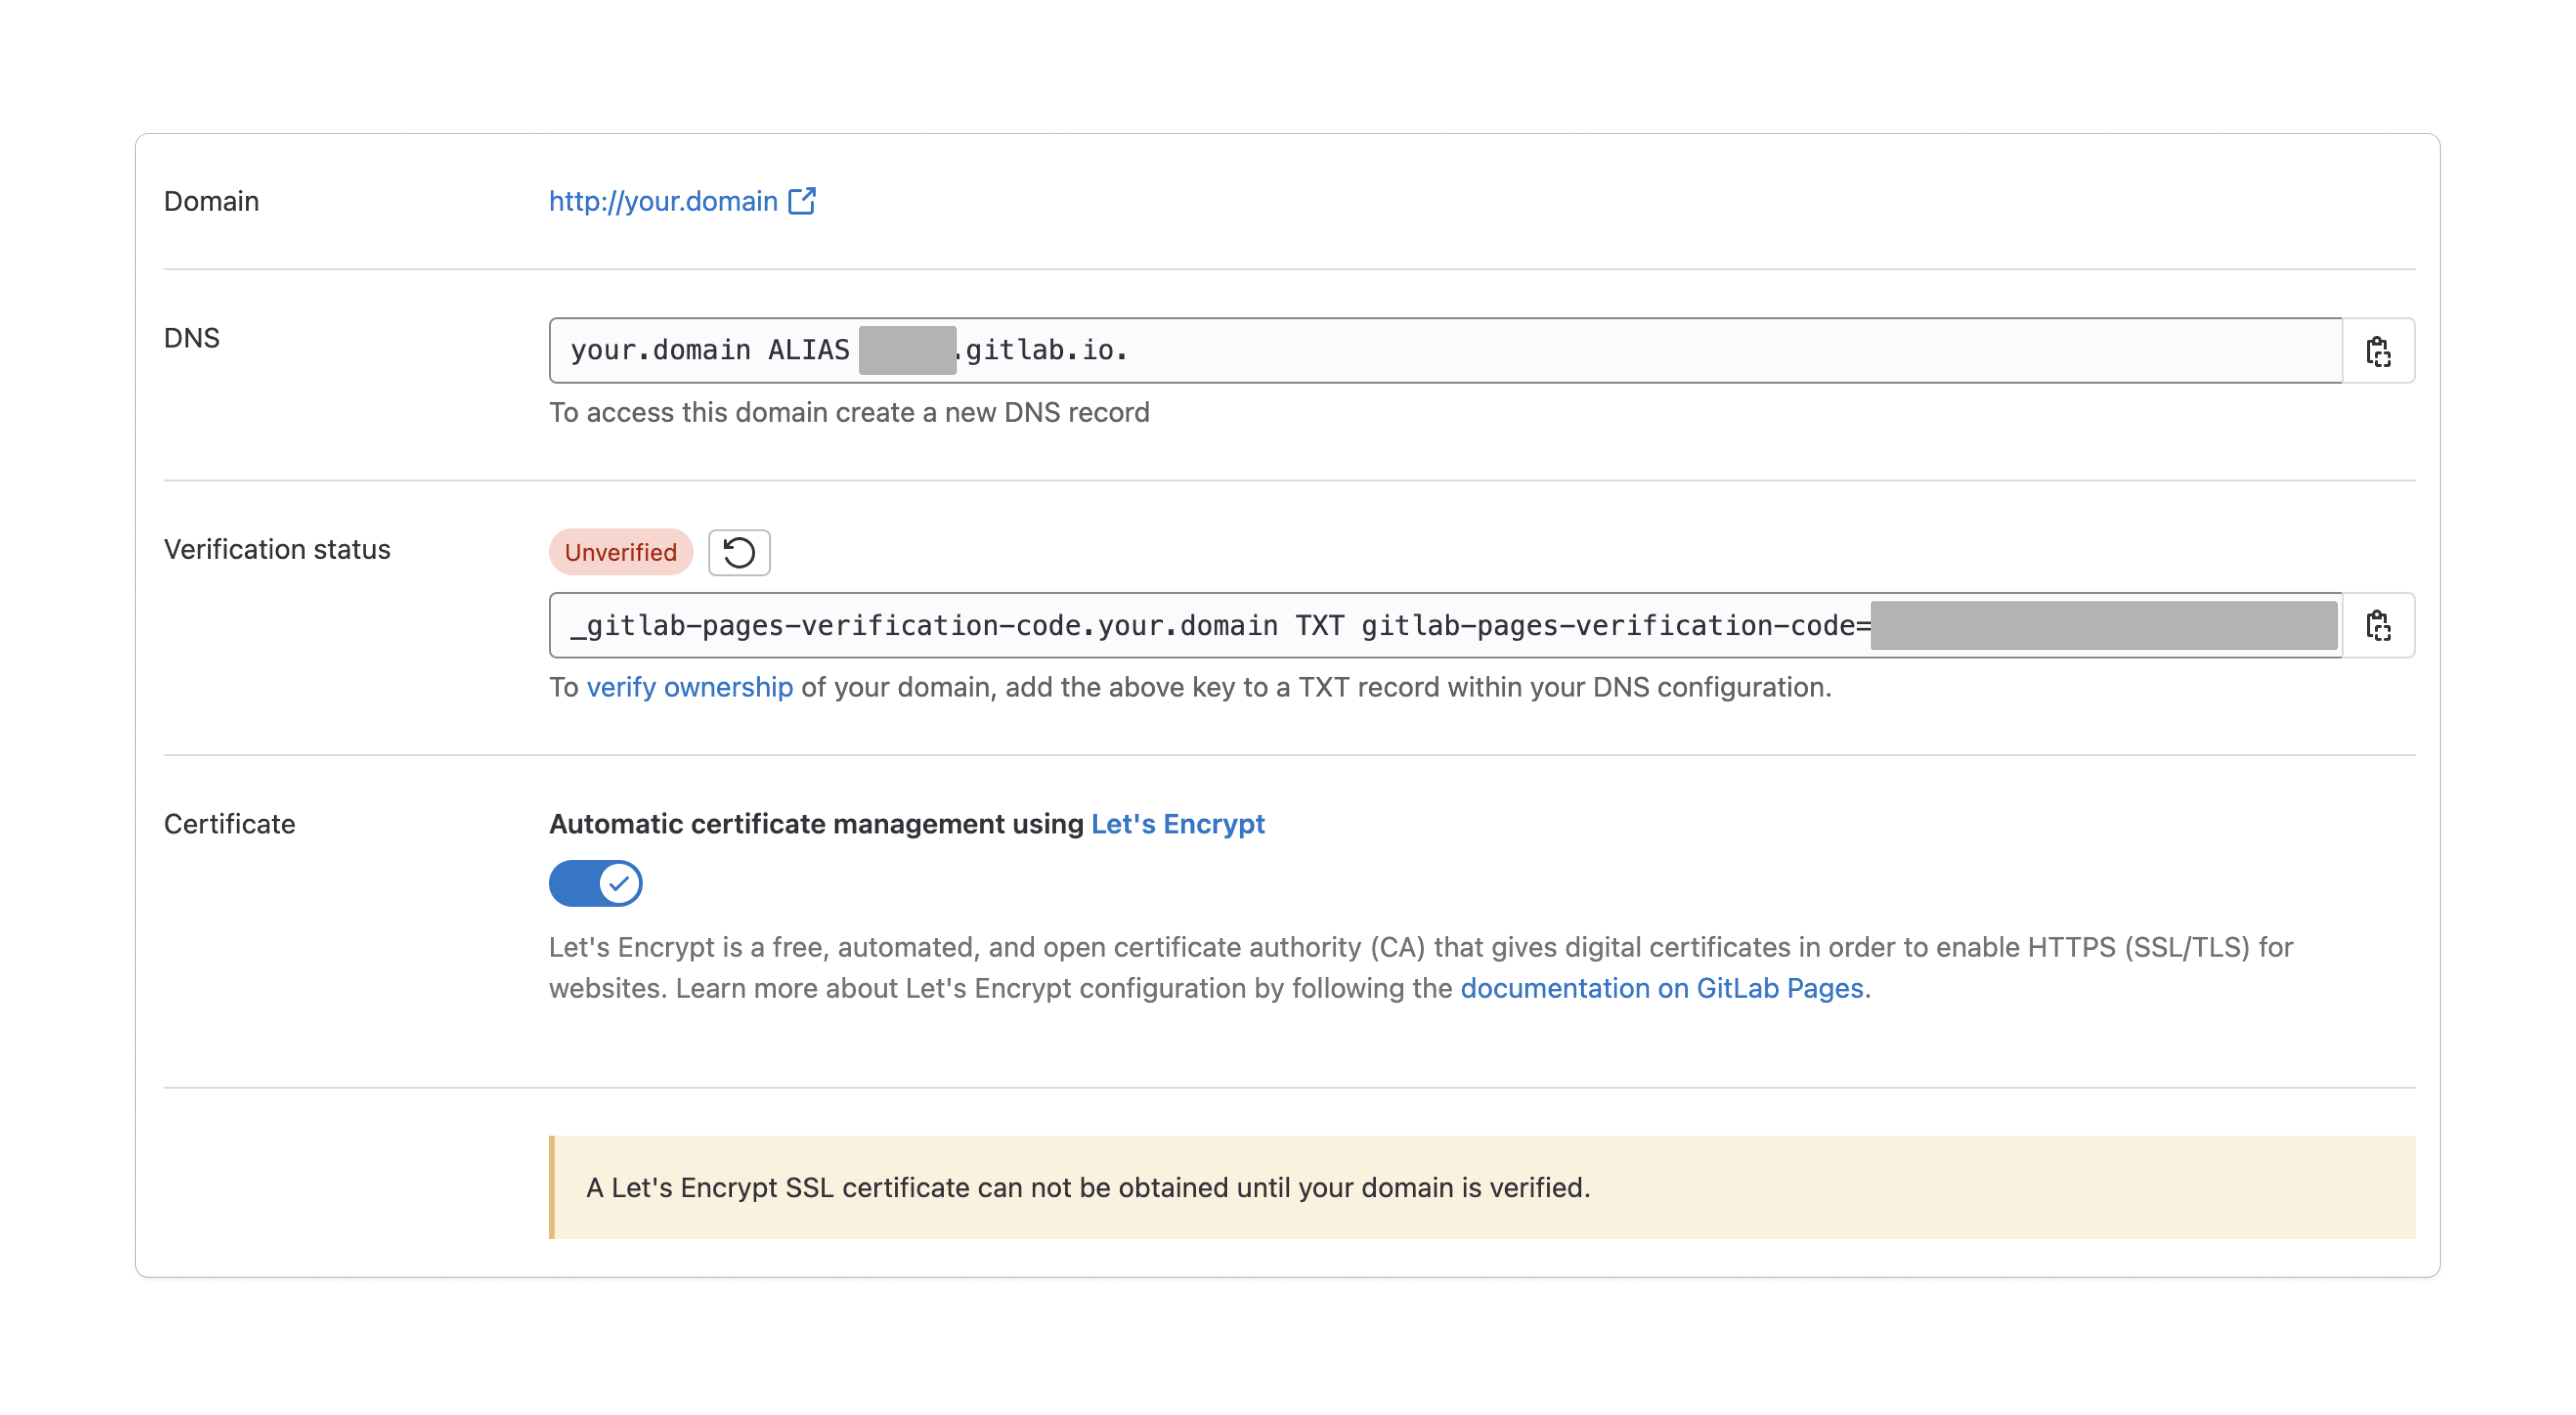
Finally, you will need to add the domain ALIAS DNS record, also provided by Gitlab in the same Pages section.
Remember to update
baseurlinconfig/_default/config.tomlwith your newly added custom domain. If not, the site will not be accessible as it will be expected to be accessible in an outdated URL (former gitlab.io).
Conclusion & references
Now you have your website, running on Gitlab Pages, built using Hugo + Blowfish, populated with your content, in a custom domain you own. Mostly for free (depending on DNS service).
It is a straightforward process involving a couple of moving parts, that hopefully can be done fairly quickly.